Here is a great solution for our first resolution. I saw the idea at my mom's house. On of my sisters made my mom a great little display for her family birthdays. It hangs on the wall with a cute little picket fence and flowers for each month. Ropes hang down from each flower and little bird and butterfly clips display everyone's name and day. It has been fun to watch as people get added to it, and see at a glance which month is packed with more birthdays. I thought my mother-in-law might enjoy one, but i did not know where to start, it was seeming a little overwhelming. I decided to engineered my own simplier version. I love the way it turned out, i think i may need one for myself now:) It took me the better part of an evening (since i had to let the paint dry) but it was quite easy.
A plaque or board
Wooden letter
wooden discs
mini clothes pins
a strong bonding glue
12- 15 inch pieces of small rope or twine drill
paint/brush
sharpie
HERE'S HOW I DID IT:
Start by sanding the board and the letter so you have a smooth painting surface. Next measure, mark, and drill your holes (you will need 12 along the bottom, one for each month). Drill up in the bottom edge of the wood in at a 45 degree angle so that your hole comes out the back of the board. Sand around the holes, and paint. I painted my board black and sanded it for a distressed finish. Paint your letter too, i did mine in a color called sand that is really just a glorified name for a light tan.
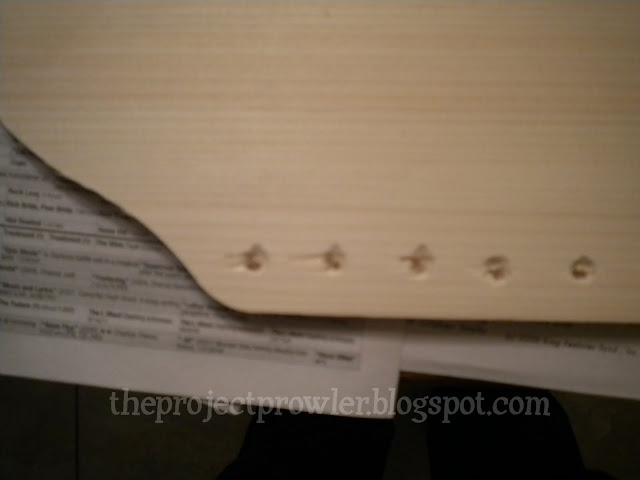
sorry this picture is blurry, i wanted you to see how the holes from the drill come out at the back of the board, it doesnt need to be pretty on the back, only functional ;)
By the time you finish with that you can probably put a second coat of paint on the letter and wooden board. Now that all your things are wet with paint and you have nothing else to work on you can stop to make some cookies for yourself. By the time your first batch is out of the oven you can snack on them while you finish up :).
Come back to your dried project and sand down the edges of your board and letter (if you want it to have a distressed finish). Tie a knot at the end of each rope and from the back of the board thread it through the predrilled holes. The knot will hold it in place at the back (you may need to tie the knot twice to make it hold better).
Next write the names of the months centered above each hole. For this step I actually painted the abbreviations of each month, but i was thinking there was probably an easier way than that, a paint pen or vinyl, but i was working with what i had, so i used a very thin but firm bristled paint brush and just took my time writing each month.
Finally, you can use the sharpie to write the names of your family members (or anyone who's birthday you want to remember) centered in each disc with the number day under each name. You won't need the month because it will hang on the month rope that it belongs to. When you write them all you can clip them in their place on the ropes. {it may be helpful for yourself, or the person you give it too if you have extra discs that are ready to go, so that as your family grows you can easily keep it up to date. Projects like this can fall flat fast if you have to go to the store for more clothespins, discs, and paint every time you need to update it, so just plan now to make extras so you will beable to enjoy it for a long time.}
To finish you can add any decorative touches, like the wooden monogram. Glue your letter in place or whatever else you might think of to make it match your decor and style and it's ready to go. Nail some picture hanging hardware on the back and place it on the wall. I think it is so nice not only to have your birthdays all in a handy place but to have a little spot in your home to showcase all those people we love so much.


1 comment:
I love this project! I'd actually love to see the one that your mom has, I can only imagine how full it is! :) Great idea!
Post a Comment